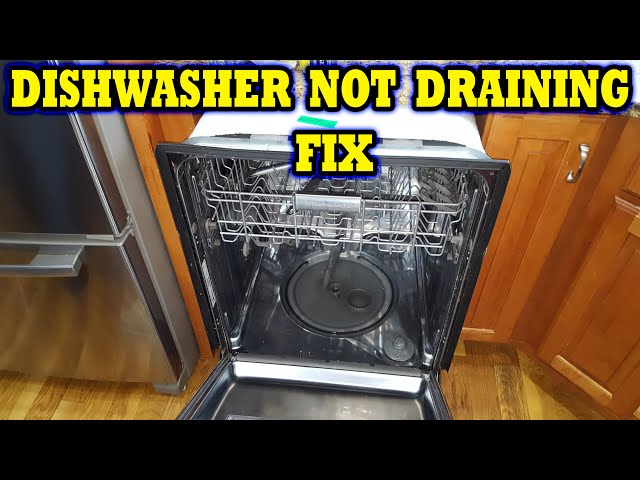
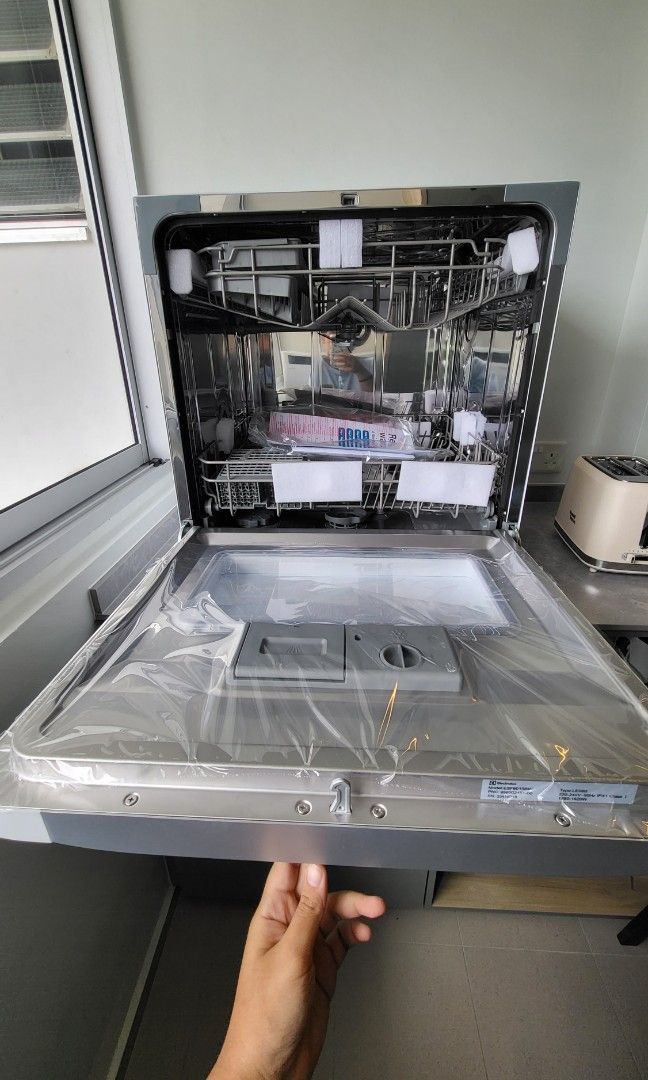
Fixing a KitchenAid Dishwasher That Won’t Drain
A KitchenAid dishwasher that won’t drain properly can be a frustrating and messy problem for homeowners. This common issue often results in standing water at the bottom of the appliance, potentially leading to unpleasant odors and unsanitary conditions. Fortunately, many drainage problems can be resolved through simple troubleshooting steps and basic maintenance. This article will explore the various causes of drainage issues in KitchenAid dishwashers, provide detailed instructions for diagnosing and fixing these problems, and offer guidance on when professional assistance may be necessary.
The primary causes of drainage issues in KitchenAid dishwashers include clogged drain hoses, blocked drain filters, malfunctioning drain pumps, obstructed drain lines, and clogged air gaps. By understanding these potential culprits and following the troubleshooting steps outlined in this guide, homeowners can often resolve drainage problems without the need for costly repairs or replacements. Additionally, we will discuss preventative measures to help maintain proper dishwasher function and avoid future drainage issues.
Common Causes of Drainage Issues
Clogged Drain Hose
A clogged drain hose represents one of the most frequent causes of drainage problems in KitchenAid dishwashers. The drain hose connects the dishwasher to the home’s plumbing system, allowing water to flow out of the appliance. When this hose becomes obstructed, water cannot exit the dishwasher efficiently, resulting in standing water and poor drainage.
The drain hose typically runs from the back of the dishwasher to either the sink drain or the garbage disposal. To inspect the hose, users should first disconnect the power supply to the dishwasher and remove the kick plate at the bottom of the unit. The drain hose can then be visually examined for kinks, bends, or visible blockages.
To clear a clogged drain hose, follow these steps:
1. Disconnect the hose from both the dishwasher and the sink drain or garbage disposal.
2. Use a straightened wire hanger or plumber’s snake to gently remove any debris inside the hose.
3. Flush the hose with hot water to ensure all obstructions have been cleared.
4. Reattach the hose securely to both connection points.
Blocked Drain Filter
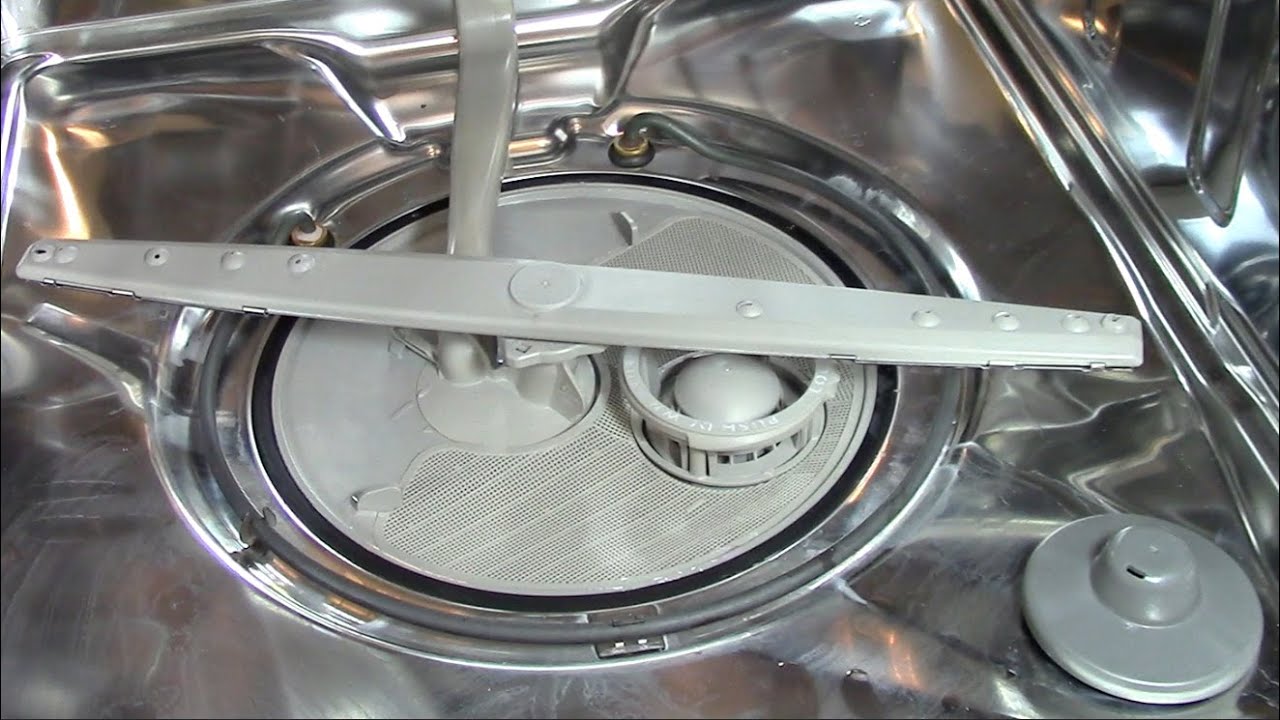
The drain filter in a KitchenAid dishwasher plays a crucial role in preventing large food particles and debris from entering the drain system. Over time, this filter can become clogged with accumulated debris, impeding proper water drainage. A blocked drain filter not only affects drainage but can also lead to poor cleaning performance and unpleasant odors.
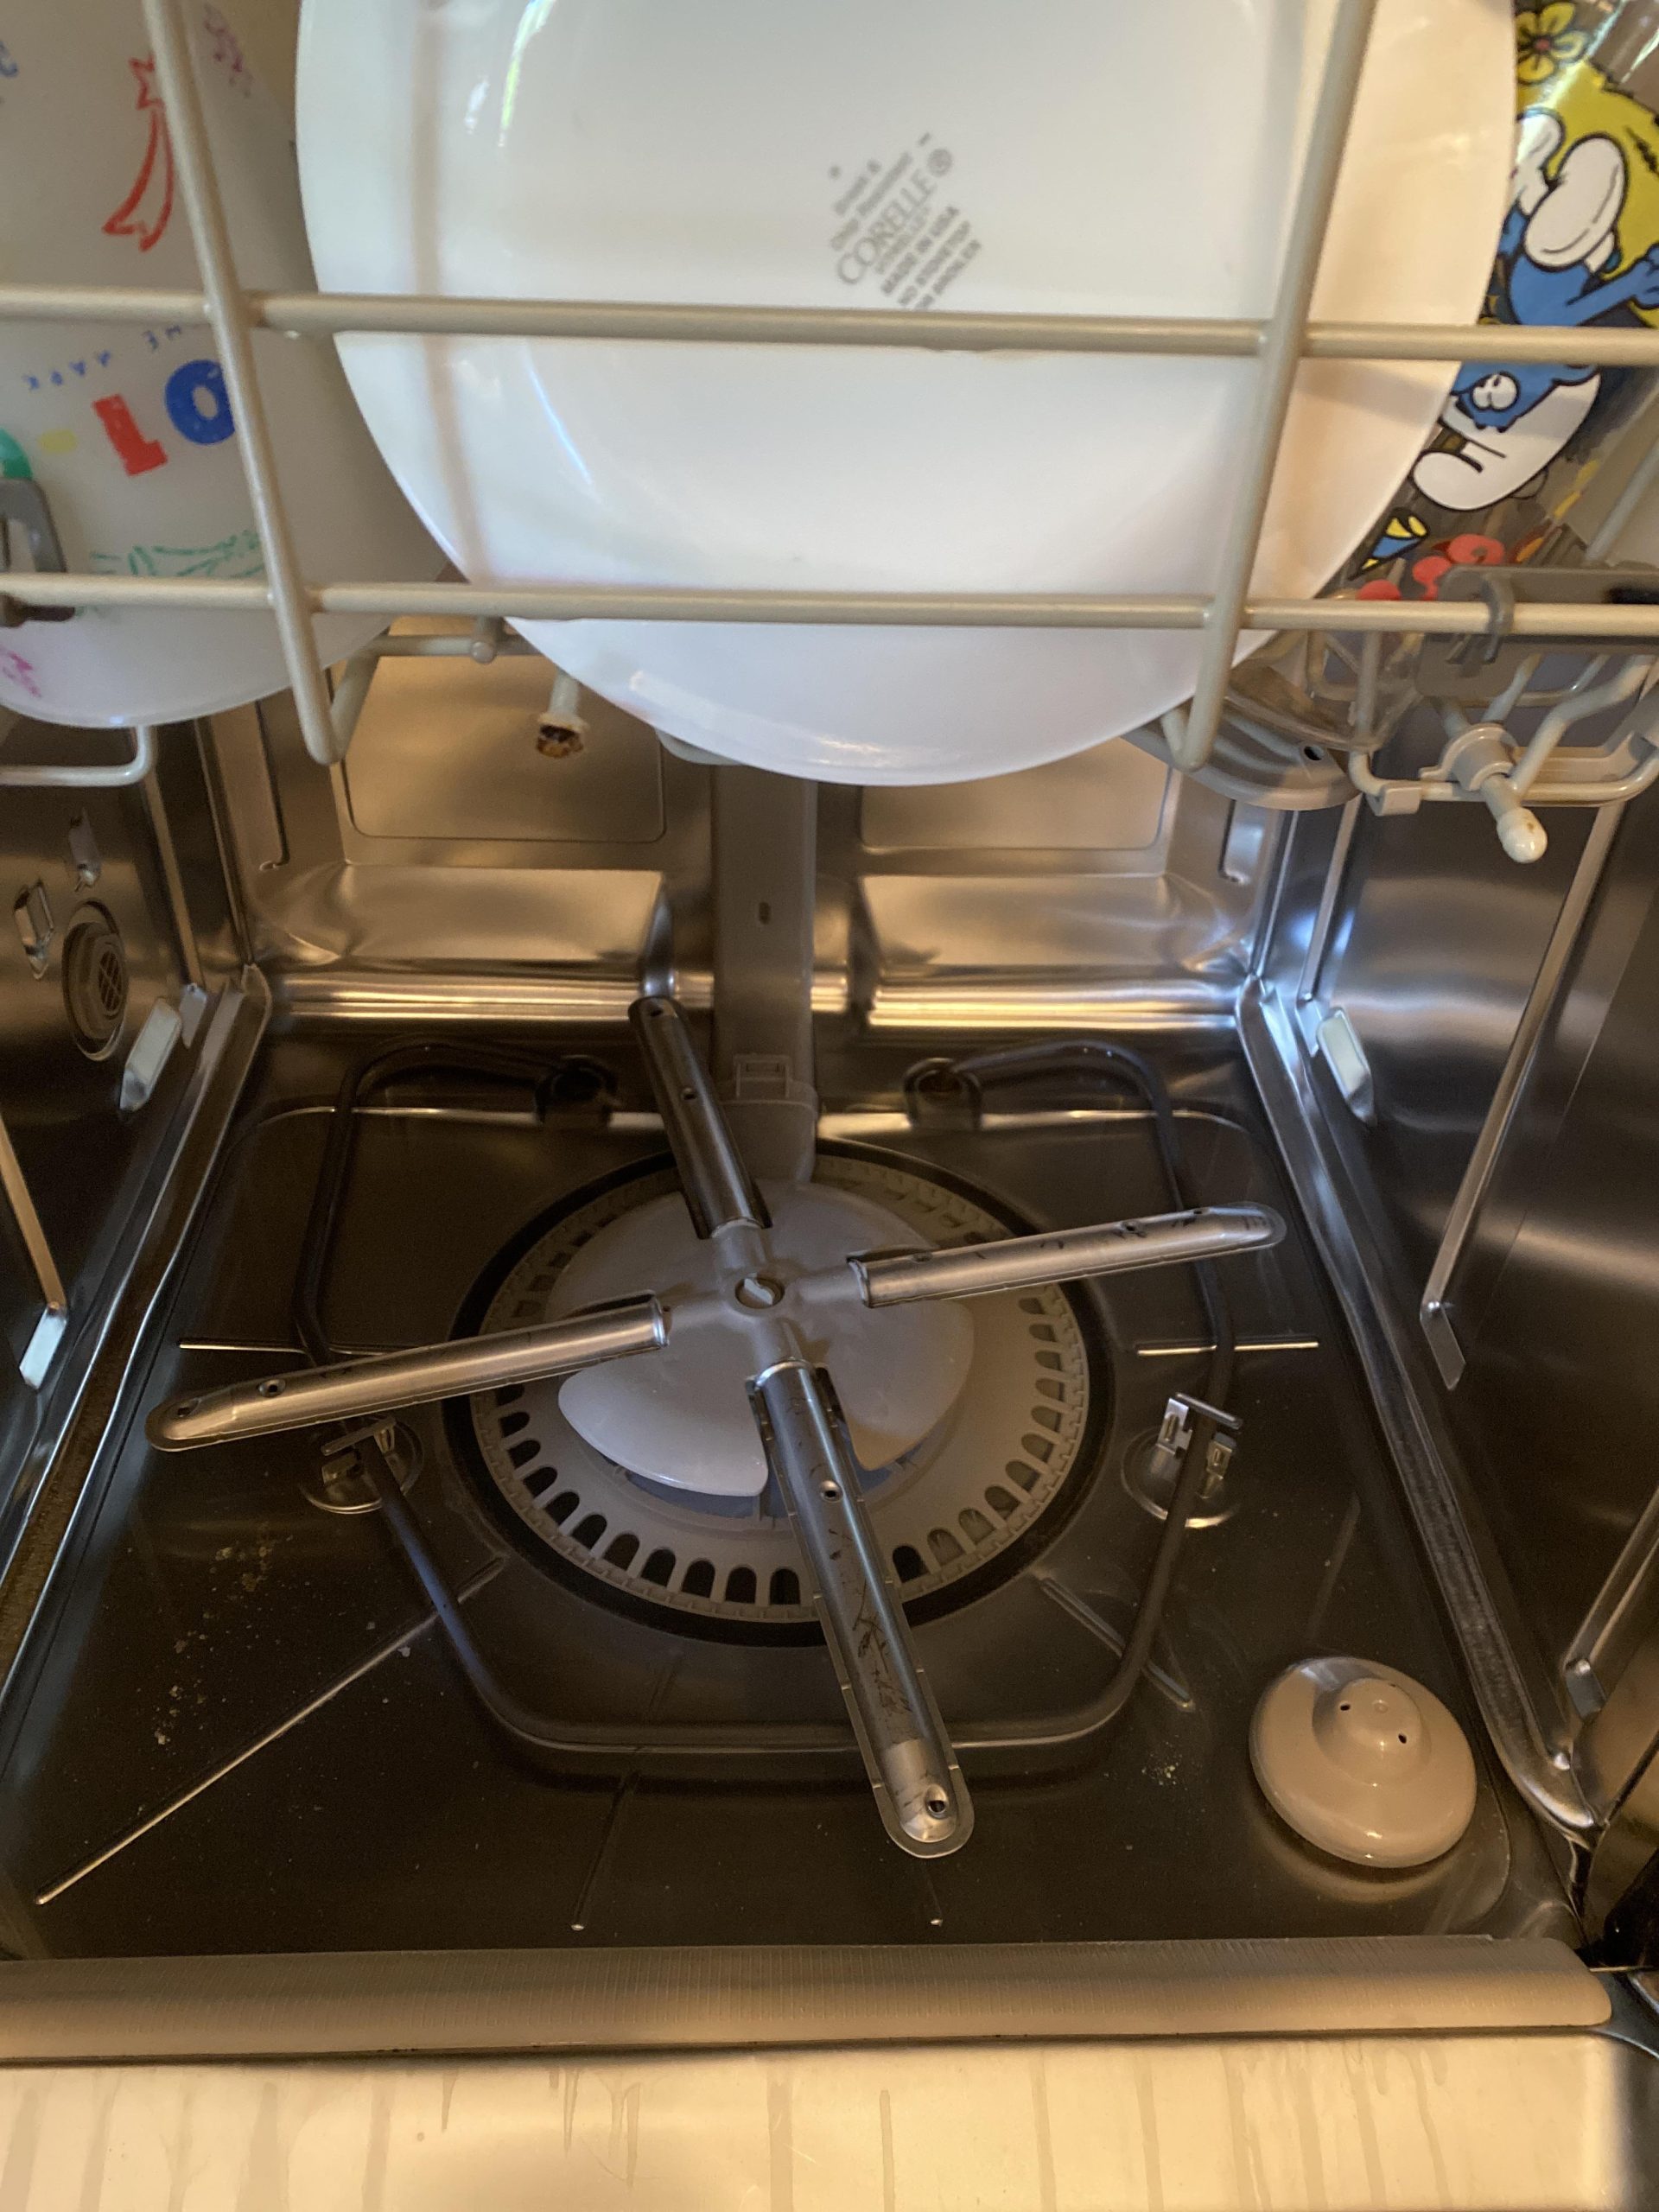
To locate the drain filter, remove the bottom dish rack and look for a cylindrical or basket-shaped component in the bottom of the dishwasher tub. The filter can typically be removed by turning it counterclockwise and lifting it out.
Cleaning the drain filter involves the following steps:
1. Remove the filter assembly from the dishwasher.
2. Separate the fine mesh filter from the coarse filter (if applicable).
3. Rinse both filters under running water to remove debris.
4. Use a soft brush to gently scrub away any stubborn residue.
5. Reassemble the filter components and reinstall them in the dishwasher.
Regular cleaning of the drain filter, ideally every 3-6 months, can significantly reduce the likelihood of drainage issues and improve overall dishwasher performance.
Malfunctioning Drain Pump
The drain pump in a KitchenAid dishwasher is responsible for forcefully expelling water from the appliance. When this component malfunctions, water may remain in the dishwasher even after the cycle has completed. Signs of a faulty drain pump include unusual humming or buzzing sounds during the drain cycle, or a complete lack of draining action.
To check the drain pump:
1. Disconnect the power supply to the dishwasher.
2. Remove the kick plate and locate the drain pump (usually near the front of the unit).
3. Inspect the pump for visible damage or obstructions.
4. If possible, manually rotate the pump impeller to ensure it moves freely.
If the drain pump appears damaged or fails to operate correctly, replacement may be necessary. Due to the complexity of this repair, many homeowners opt to seek professional assistance for drain pump issues.
Clogged Drain Line
The drain line connects the dishwasher’s drain hose to the home’s main drain system. This line can become clogged with food debris, grease, or other substances, preventing proper water drainage. A clogged drain line often affects not only the dishwasher but also other nearby plumbing fixtures.
To address a clogged drain line:
1. Locate the dishwasher’s connection to the sink drain or garbage disposal.
2. Place a bucket beneath the connection to catch any water.
3. Disconnect the drain hose from the sink drain or disposal.
4. Use a plunger or plumber’s snake to clear any blockages in the drain line.
5. For stubborn clogs, consider using an enzymatic drain cleaner specifically designed for kitchen drains.
If these methods fail to clear the clog, or if multiple plumbing fixtures are affected, it may be necessary to consult a professional plumber to address more severe drain line issues.
Clogged Air Gap
The air gap is a small device typically mounted on the kitchen sink or countertop that prevents wastewater from flowing back into the dishwasher. When the air gap becomes clogged, it can impede proper drainage and cause water to back up into the sink or dishwasher.
To check and clean the air gap:
1. Locate the air gap (usually a small chrome cylinder on the sink or countertop).
2. Remove the decorative cap from the air gap.
3. Inspect the interior for debris or buildup.
4. Use a small brush or toothpick to remove any obstructions.
5. Flush the air gap with clean water to ensure proper flow.
Regular cleaning of the air gap can prevent drainage issues and ensure proper dishwasher function.
Troubleshooting Steps
When faced with a KitchenAid dishwasher that won’t drain, follow these step-by-step troubleshooting procedures to identify and resolve the issue:
Step 1: Check the Drain Hose and Filter
1. Unplug the dishwasher or turn off the circuit breaker.
2. Remove the bottom dish rack and locate the drain filter.
3. Remove and clean the filter as described earlier.
4. Access the drain hose from the back of the dishwasher or under the sink.
5. Inspect the hose for kinks, bends, or visible blockages.
6. Clear any obstructions and ensure the hose is properly connected.
Step 2: Check the Drain Pump
1. With the power still disconnected, remove the kick plate.
2. Locate the drain pump near the front of the unit.
3. Listen for unusual sounds when the pump should be operating (you may need to briefly restore power for this step).
4. Inspect the pump for visible damage or debris.
5. If possible, manually rotate the pump impeller to check for obstructions.
Step 3: Inspect the Drain Line
1. Locate the dishwasher’s connection to the sink drain or garbage disposal.
2. Disconnect the drain hose from this connection.
3. Check for blockages in both the hose and the drain line.
4. Use a plunger or plumber’s snake to clear any clogs.
5. Reconnect the drain hose securely.
Step 4: Check the Air Gap
1. Locate the air gap on the sink or countertop.
2. Remove the decorative cap.
3. Inspect the interior for debris or buildup.
4. Clean the air gap thoroughly using a brush or toothpick.
5. Flush with clean water to ensure proper flow.
When to Call a Professional
While many drainage issues can be resolved through DIY troubleshooting, certain situations warrant professional assistance. Consider contacting a qualified appliance repair technician or plumber if:
– The drain pump appears to be malfunctioning and requires replacement.
– Multiple plumbing fixtures are affected, indicating a more severe drain line issue.
– Electrical components of the dishwasher seem to be malfunctioning.
– Water is leaking from the dishwasher onto the floor or into adjacent cabinets.
– You have attempted all troubleshooting steps and the problem persists.
Professional technicians possess the expertise and specialized tools necessary to diagnose and repair complex dishwasher issues safely and effectively.
| Common Drainage Issues | DIY Solutions | Professional Assistance Recommended |
|---|---|---|
| Clogged drain hose | Clear debris, flush with water | Persistent clogs, damaged hose |
| Blocked drain filter | Remove and clean filter | Damaged filter assembly |
| Malfunctioning pump | Check for obstructions | Pump replacement, electrical issues |
| Clogged drain line | Use plunger or snake | Severe clogs, multiple fixture issues |
| Clogged air gap | Clean and flush | Damaged air gap, improper installation |
Conclusion
A KitchenAid dishwasher that won’t drain properly can be a significant inconvenience, but many drainage issues can be resolved through simple troubleshooting and maintenance procedures. By understanding the common causes of drainage problems and following the step-by-step guide provided in this article, homeowners can often restore their dishwasher’s functionality without the need for costly professional repairs.
Regular maintenance, such as cleaning the drain filter and air gap, can prevent many drainage issues from occurring in the first place. Additionally, being mindful of what goes into the dishwasher and avoiding the disposal of large food particles or grease can help maintain proper function and extend the appliance’s lifespan. If you’re considering an upgrade, researching the best KitchenAid dishwasher models can also help you choose an option designed to minimize common drainage issues and enhance performance.
Remember that while DIY solutions can address many drainage problems, some situations may require professional expertise. If you encounter persistent issues or feel uncomfortable performing any of the troubleshooting steps, don’t hesitate to contact a qualified appliance repair technician or plumber for assistance.
By staying proactive in dishwasher maintenance and addressing drainage issues promptly, you can ensure that your KitchenAid dishwasher continues to provide efficient and reliable service for years to come.

Michael Thompson is a highly skilled appliance technician specializing in KitchenAid dishwashers. With many years of experience, Michael is renowned for his expertise in handling various models of KitchenAid dishwashers, ensuring optimal performance and longevity. His dedication to customer satisfaction and in-depth knowledge of appliance technology make him a trusted figure in his community. Michael’s commitment to quality service has earned him a reputation as one of the best in his field.


Great guide on fixing a KitchenAid dishwasher that won’t drain. The detailed instructions for checking and cleaning the drain pump and filter are very practical. I found the tips on troubleshooting common issues very useful. This guide has been a big help for my dishwasher problems.
Excellent article on resolving drainage issues with KitchenAid dishwashers! The troubleshooting steps are very thorough and easy to understand. I especially liked the advice on checking for clogs and ensuring proper hose installation. This guide is a lifesaver for dishwasher maintenance.”
My KitchenAid dishwasher still isn’t draining properly despite cleaning the drain pump. What other components should I check according to your guide?
To address the issue with your KitchenAid dishwasher not draining properly even after cleaning the drain pump, you should check the following components:
Drain Hose: Ensure it’s not kinked or clogged.
Air Gap: If your dishwasher has one, make sure it’s clear.
Garbage Disposal: Check for blockages if your dishwasher drains through it.
Check Valve: Inspect for any debris or blockages.
Control Board: It might need resetting or could be malfunctioning.
These are additional steps you can take to resolve the drainage problem.
The section on inspecting the drain hose was very insightful. Do you have any advice on how to ensure there are no kinks or blockages in the hose?
Hi Jens,
Thank you for your comment! To ensure there are no kinks or blockages in the drain hose, follow these tips:
Check for Kinks: Inspect the entire length of the hose to make sure it’s not bent or pinched. If you find any kinks, gently straighten them out.
Clear Blockages: Remove the hose from the dishwasher and sink, then use a long, flexible brush or a straightened coat hanger to clear any obstructions inside. Be careful not to damage the hose.
Flush with Water: After clearing the hose, run water through it to make sure it’s flowing freely.
Reattach and Test: Once you’ve checked and cleaned the hose, reattach it securely and run a short cycle to ensure proper drainage.
If you continue to have issues, there might be a more serious problem, and it could be worth consulting a professional.
Hope this helps!
Best regards,
Can you provide more details on how to test the drain pump for proper operation? I’m still having issues even after following your troubleshooting steps.